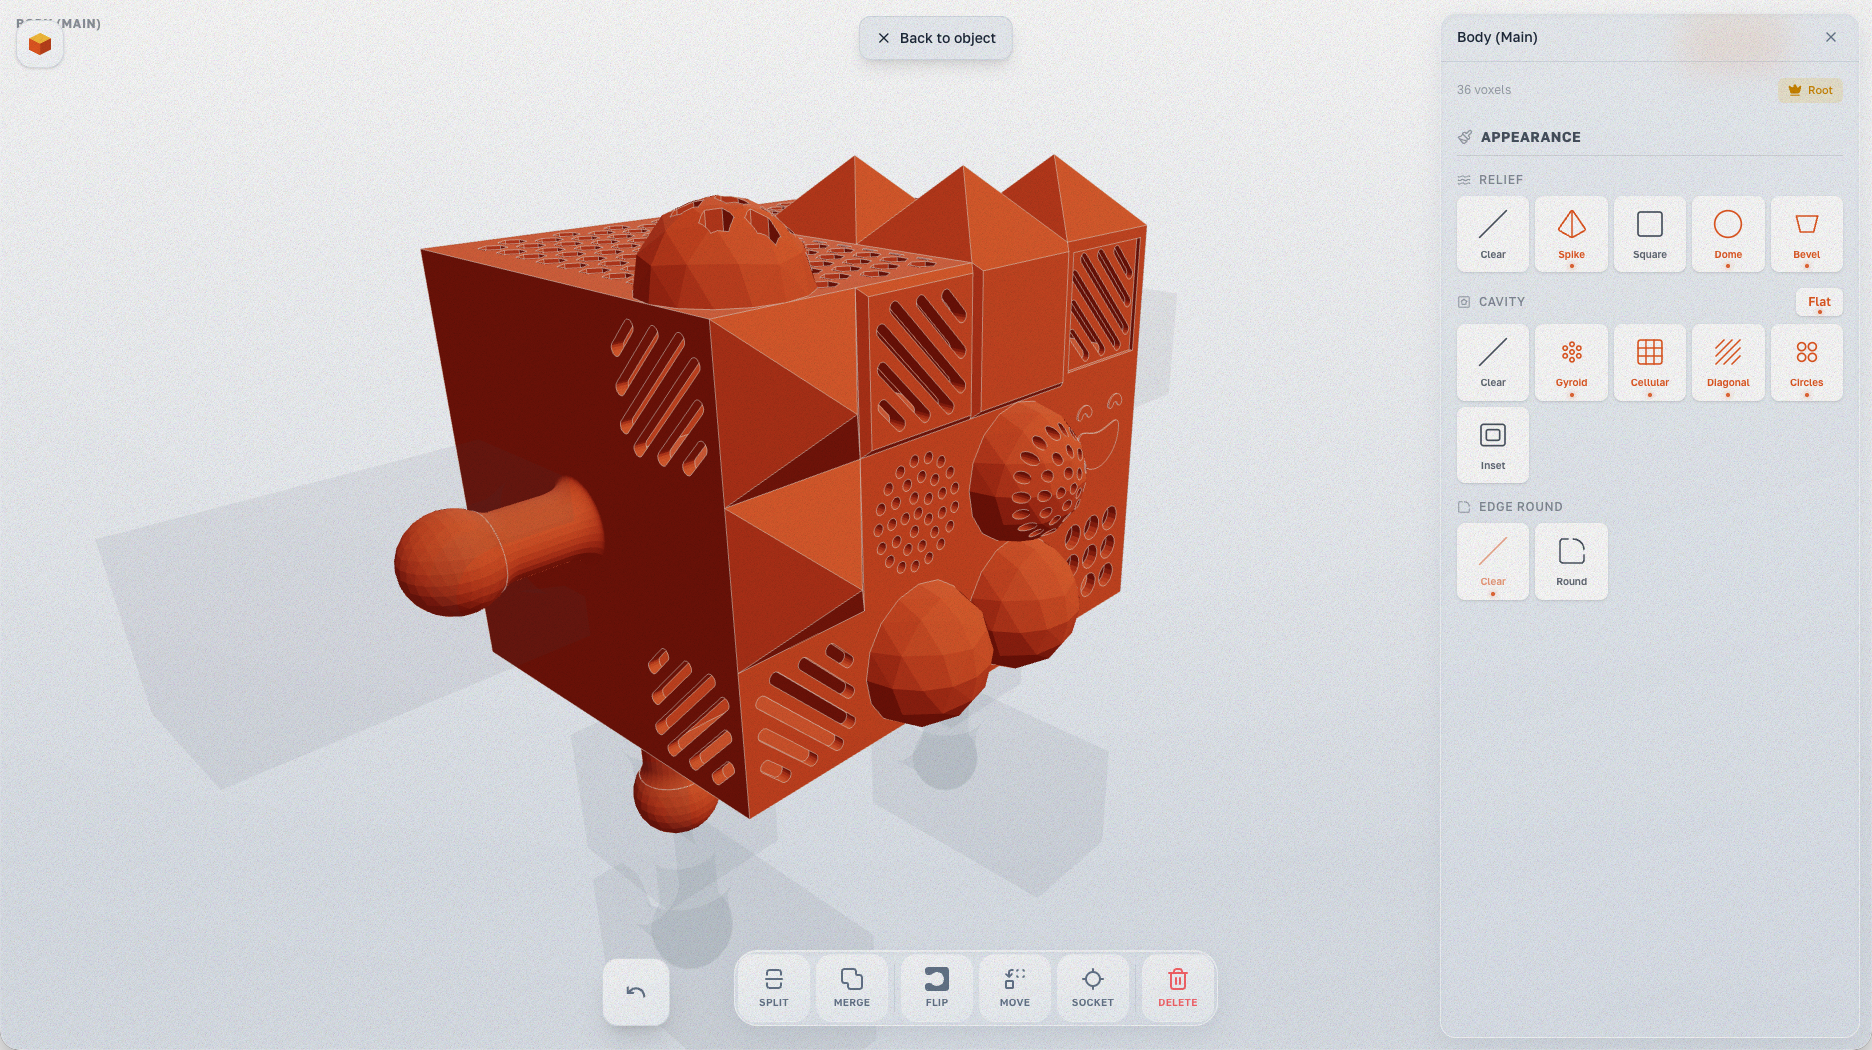
Reliefs, Texture Cavities & Rounding
Voxels are blocks, but your prints don't have to be boring. Cubie offers three tools for surface detailing.
Reliefs
A relief modifies the geometry of a single voxel face — cutting into or extruding from the surface.
Relief Types
Cubie ships a growing set of relief shapes, including:
- Spike — pyramid point. For teeth, spikes, fur texture.
- Square — square protrusion. For mechanical details, panels.
- Dome — rounded cap. For eyes, rivets, buttons.
- Bevel — angled cut. For smoothing edges, chamfers.
- Cone, Cylinder, Stud, Hair, Diagonal — extra textures and protrusions.
- Happy, Cat, Dog, Robot, Standard — decorative face stamps.
- Loop — a strap loop (lug) for attaching bands or keychains.
How to Apply
- In Assembly mode, select a part.
- Open the Appearance panel — it contains Relief, Cavity and Edge Round sections.
- Select the relief type and click on voxel faces to apply.
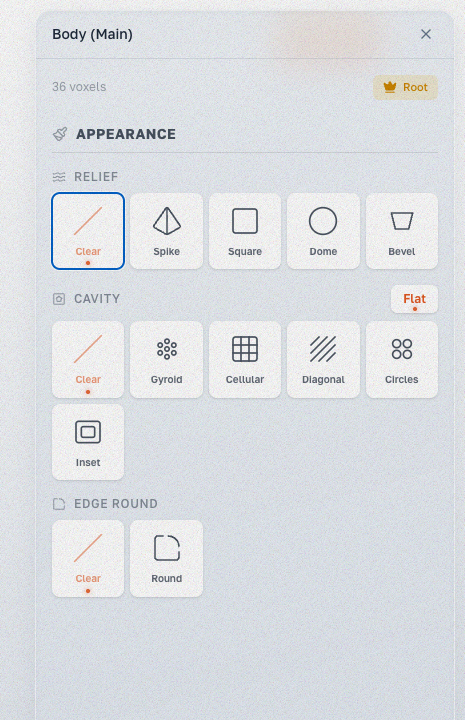
Spike relief turns each face into a sharp pyramid — great for spiky or textured surfaces.
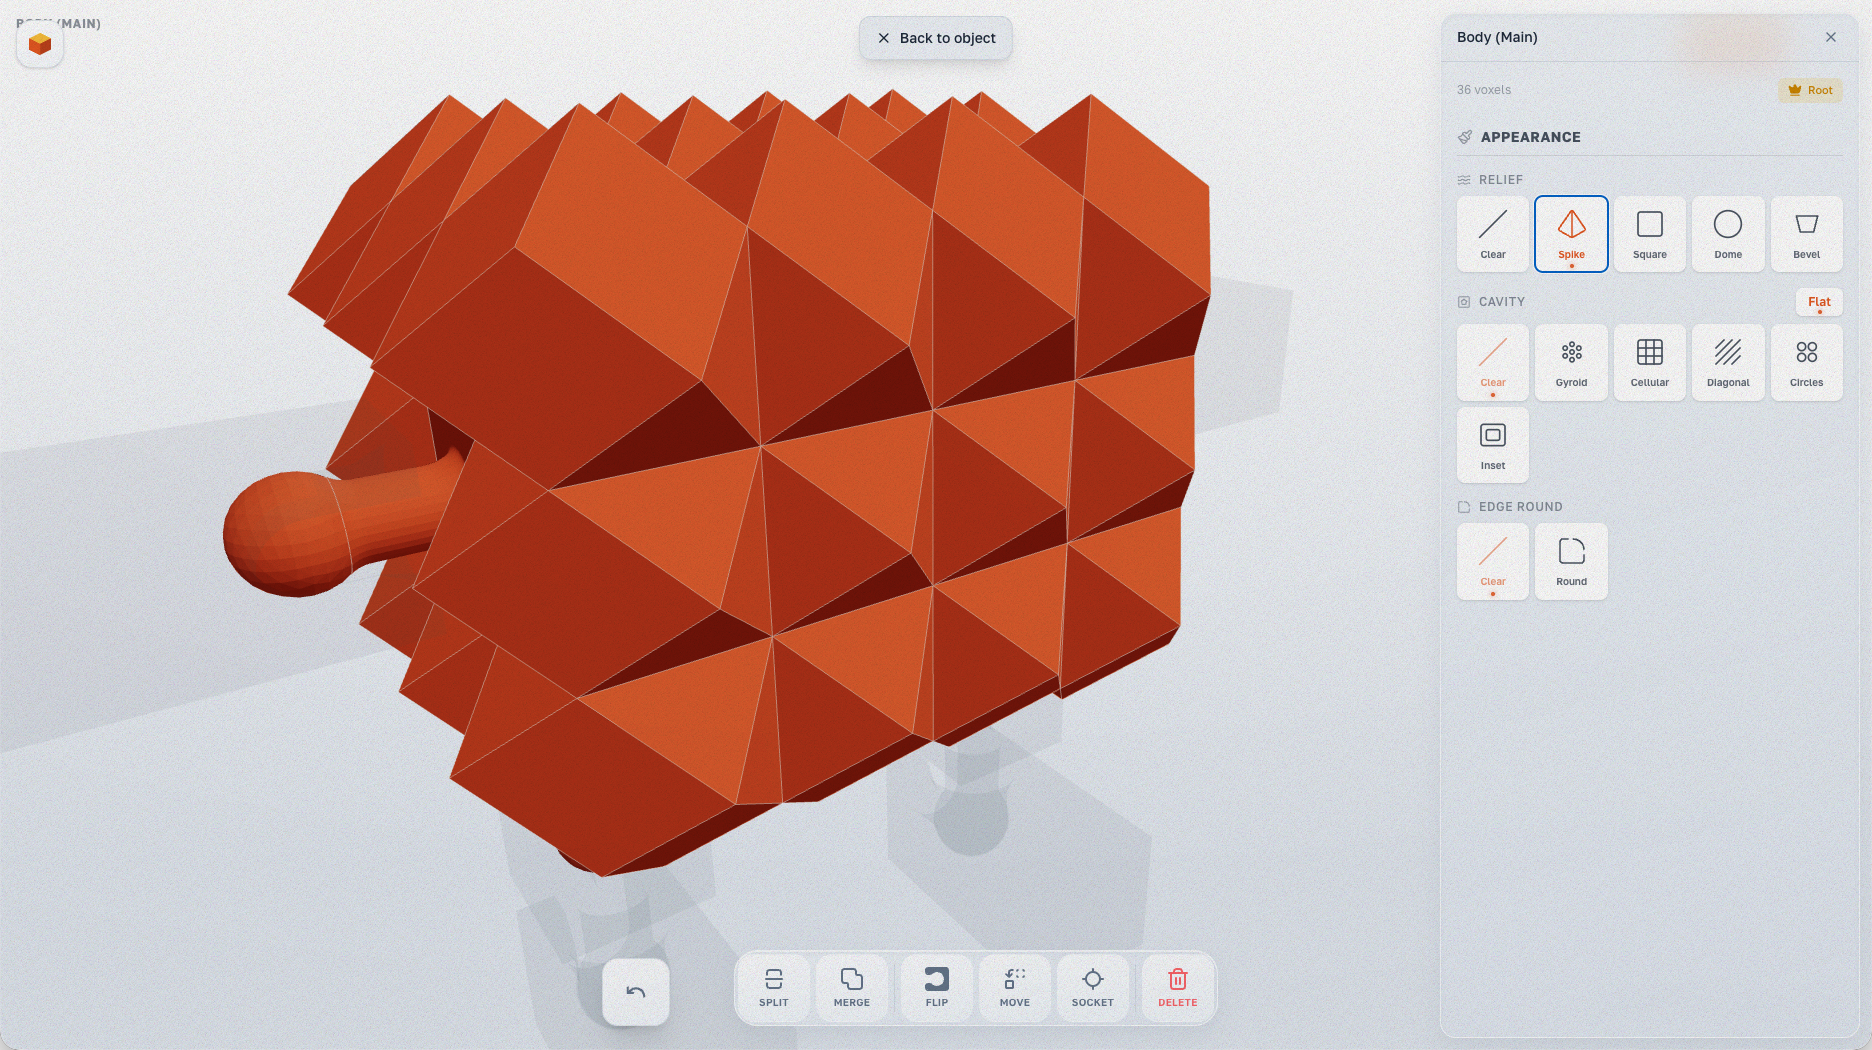
Bevel relief adds chamfered edges to each voxel face, giving the model a paneled, mechanical look.
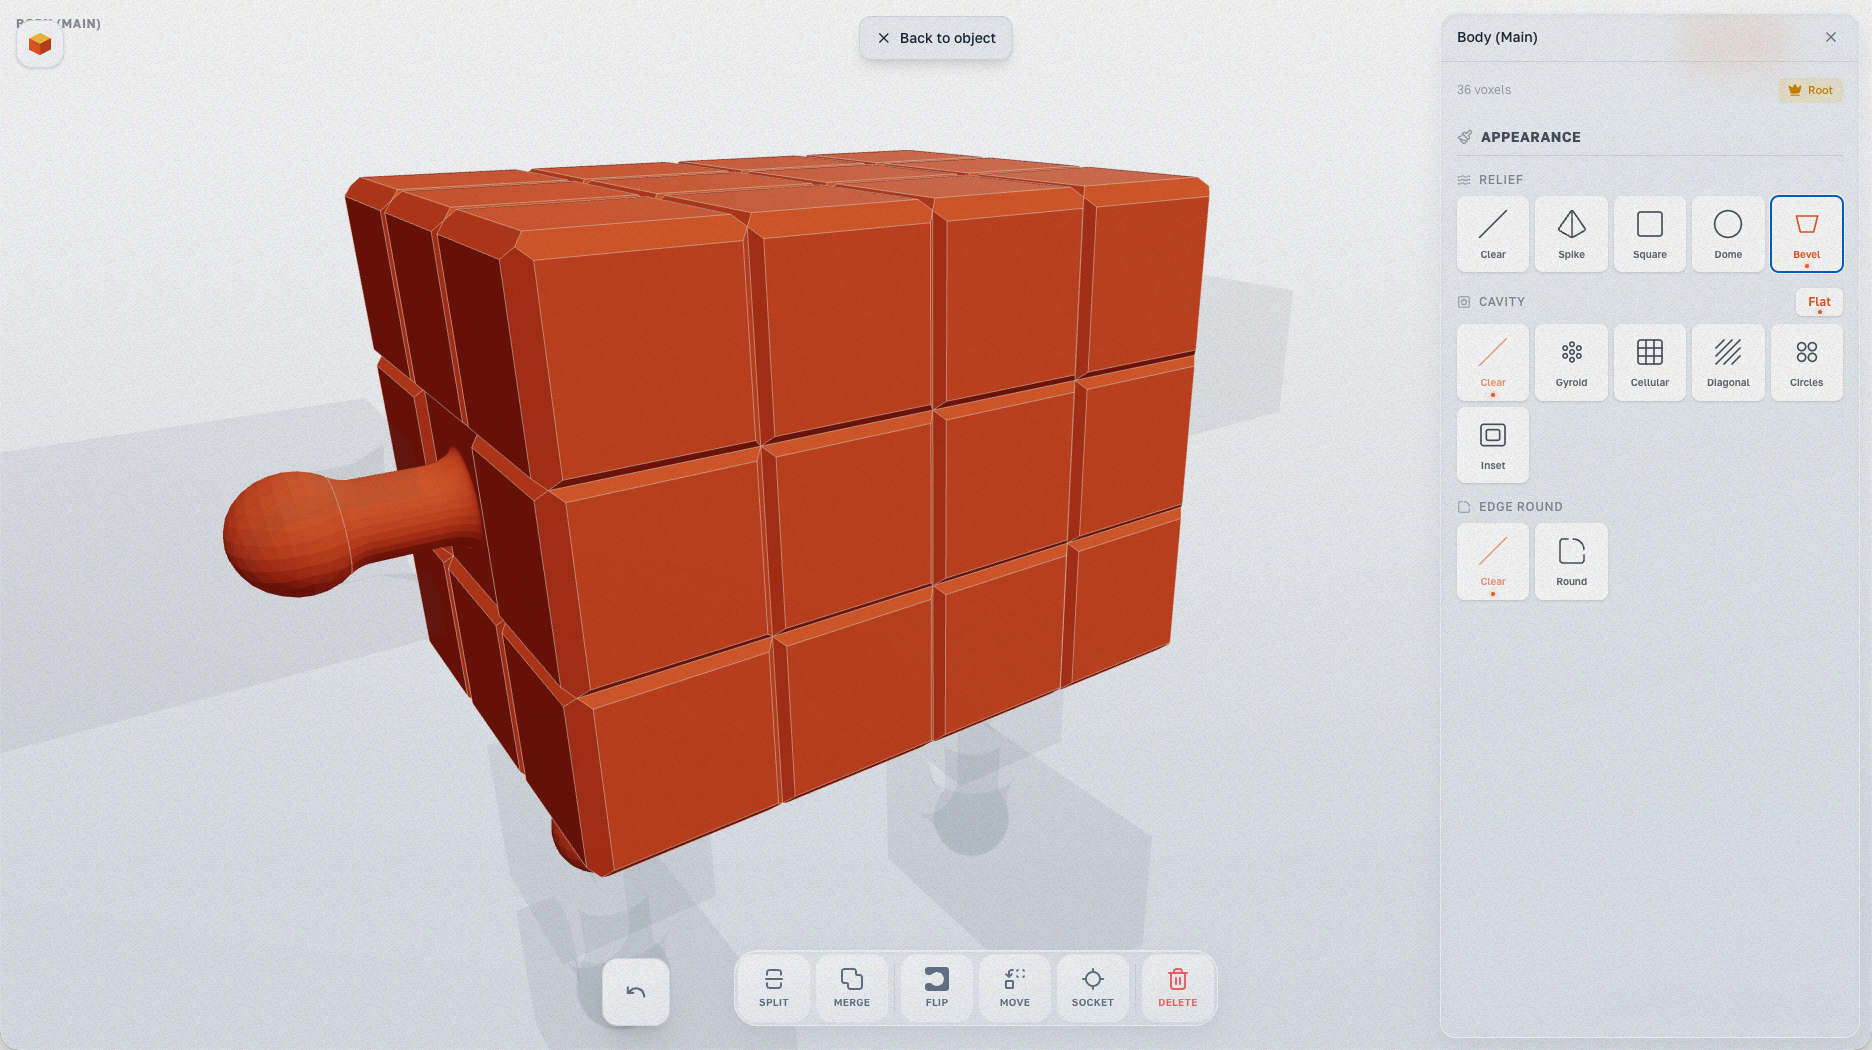
You can apply relief to specific faces — here Spike is used only on the top row of voxels.
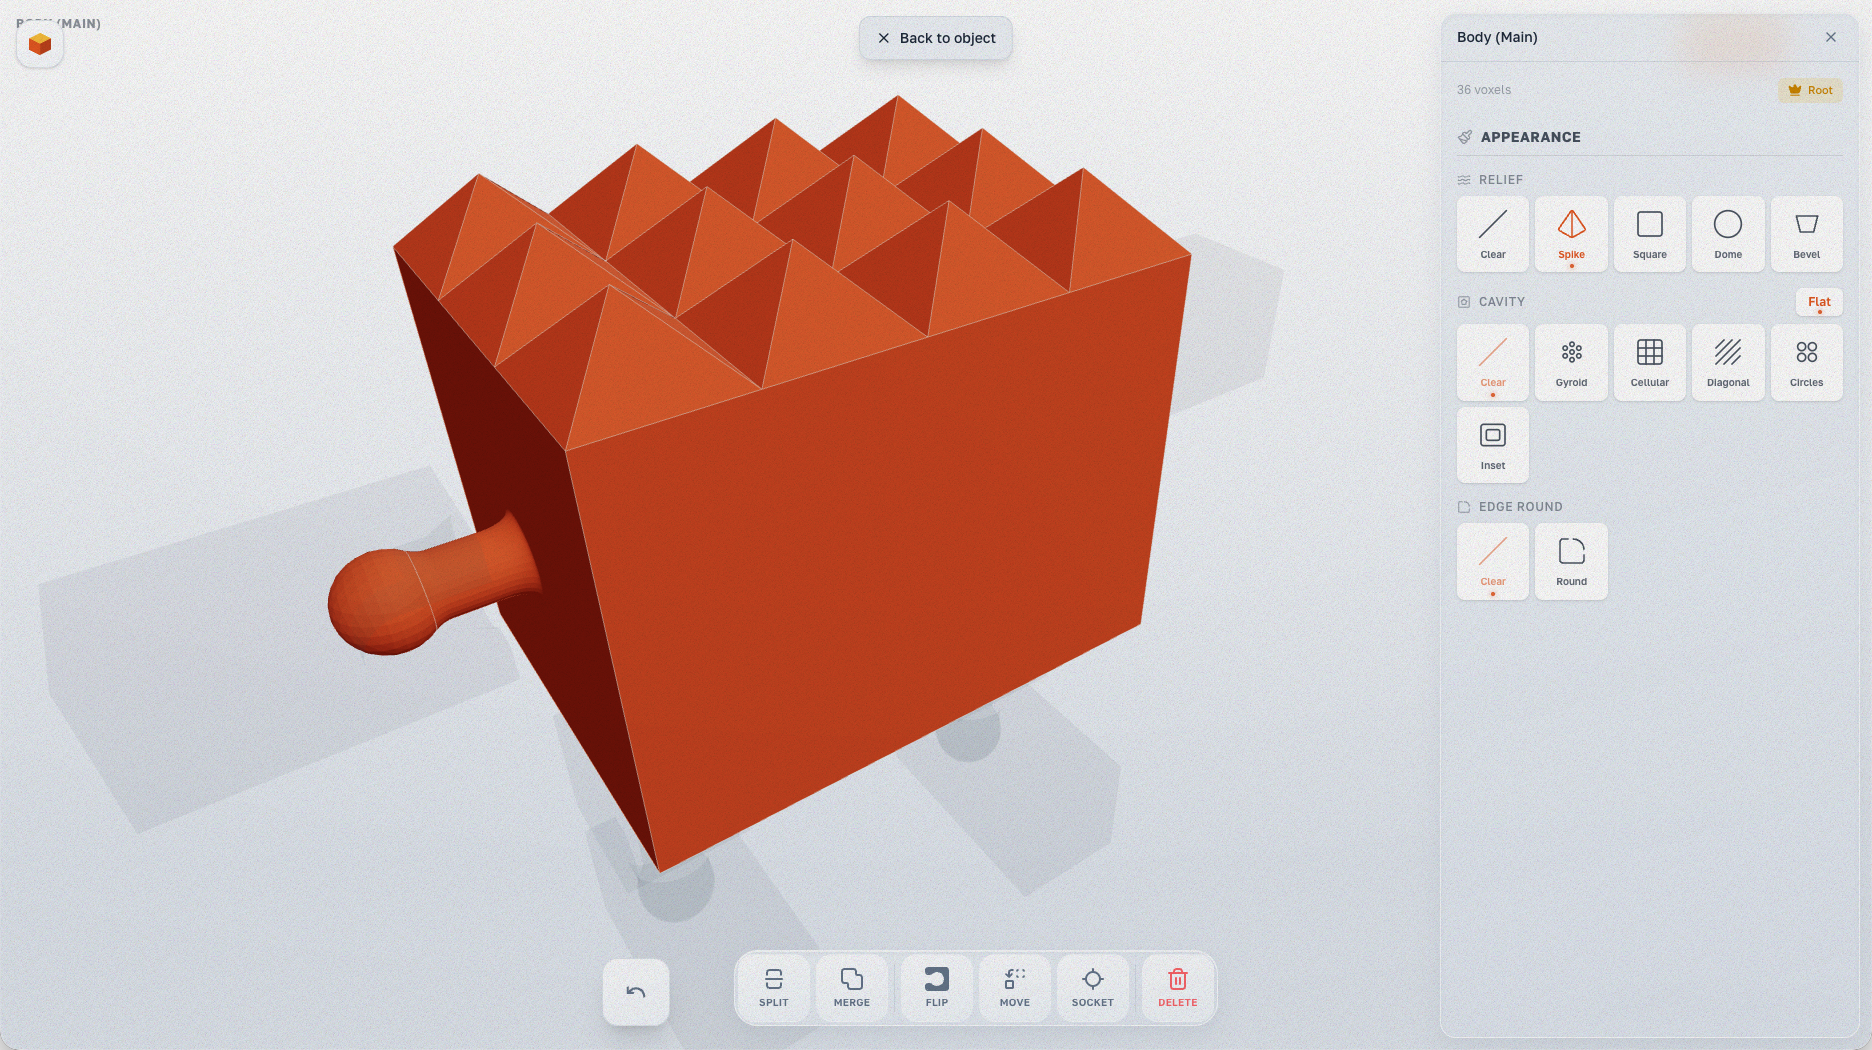
Note: The InspectPanel shows joint safety warnings (safe/risky/danger) if a relief may affect joint function.
Texture Cavities
Creates a hollow shell with a textured pattern inside. Saves material and adds a unique look.
Pattern Types
- Gyroid — gyroid pattern (popular in 3D printing).
- Cellular — cellular structure.
- Diagonal — diagonal lines.
- Circles — circular cutouts.
- Logo — emboss a logo or symbol.
- Inset — inset pattern.
How to Apply
- In Assembly mode, select a part.
- In the Appearance panel, choose a pattern from the Cavity section.
- The cavity is applied to the selected part — material is removed, creating a lightweight shell.
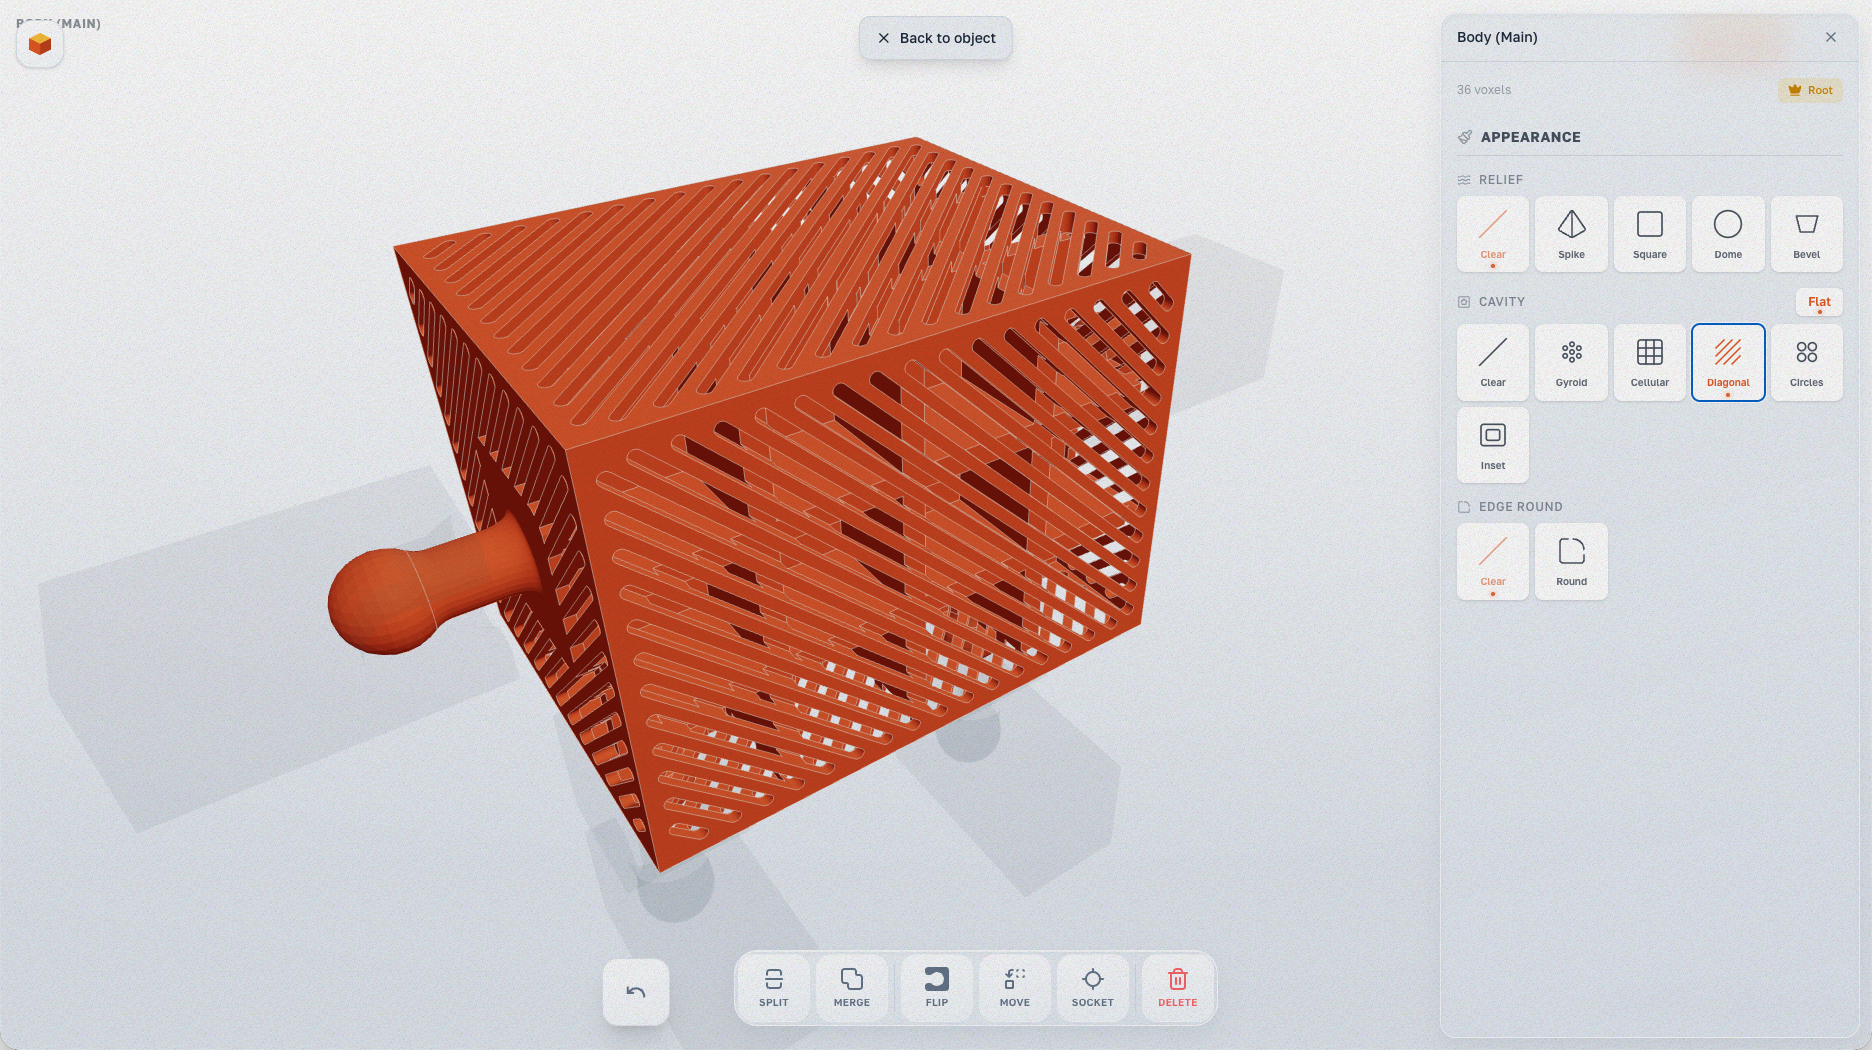
Diagonal cavity creates angled line cutouts through the part walls.
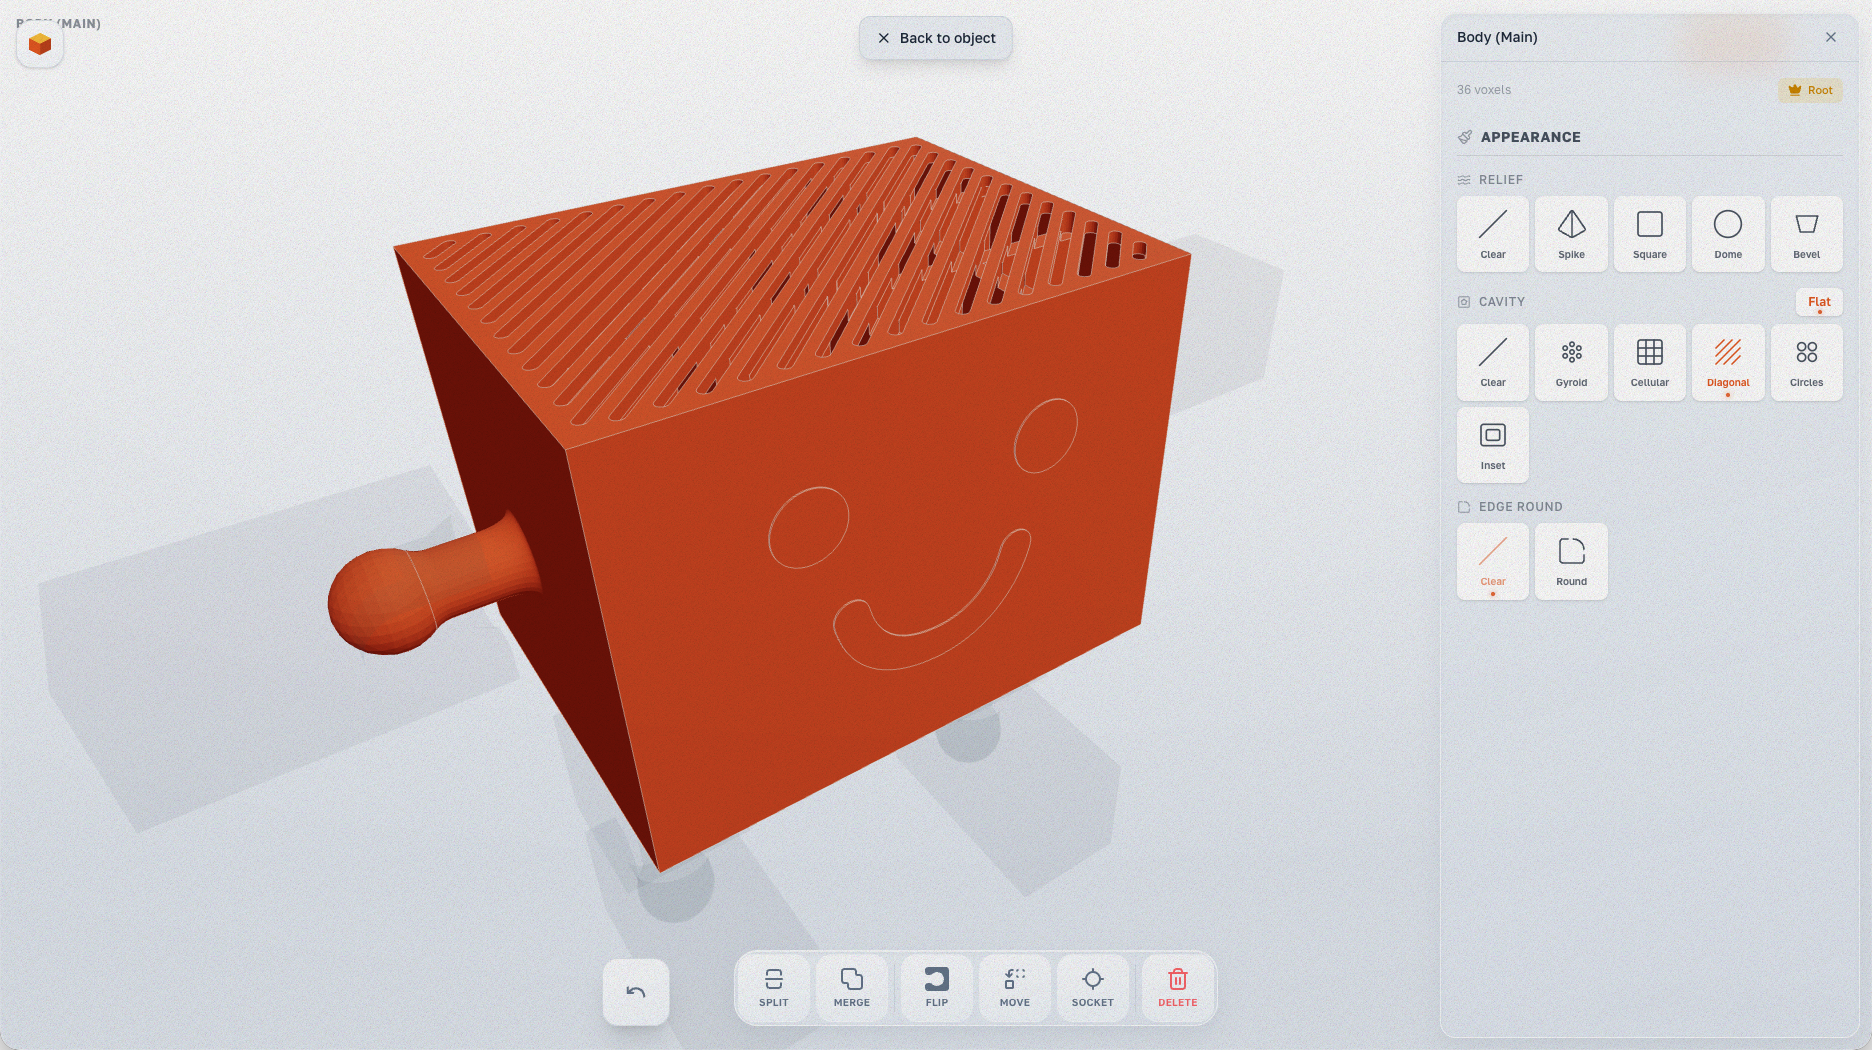
Circles cavity combined with a decorative Happy relief on the front face.
Gyroid cavity creates an organic lattice structure — popular in 3D printing for its strength-to-weight ratio.
Edge Rounding (Round & Chamfer)
Smooths voxel edges, reducing the characteristic "blocky" look. Choose Round for soft curves or Chamfer for a flat 45° cut.
How to Apply
- In Assembly mode, select a part.
- In the Appearance panel, select Round or Chamfer from the Edge Round section.
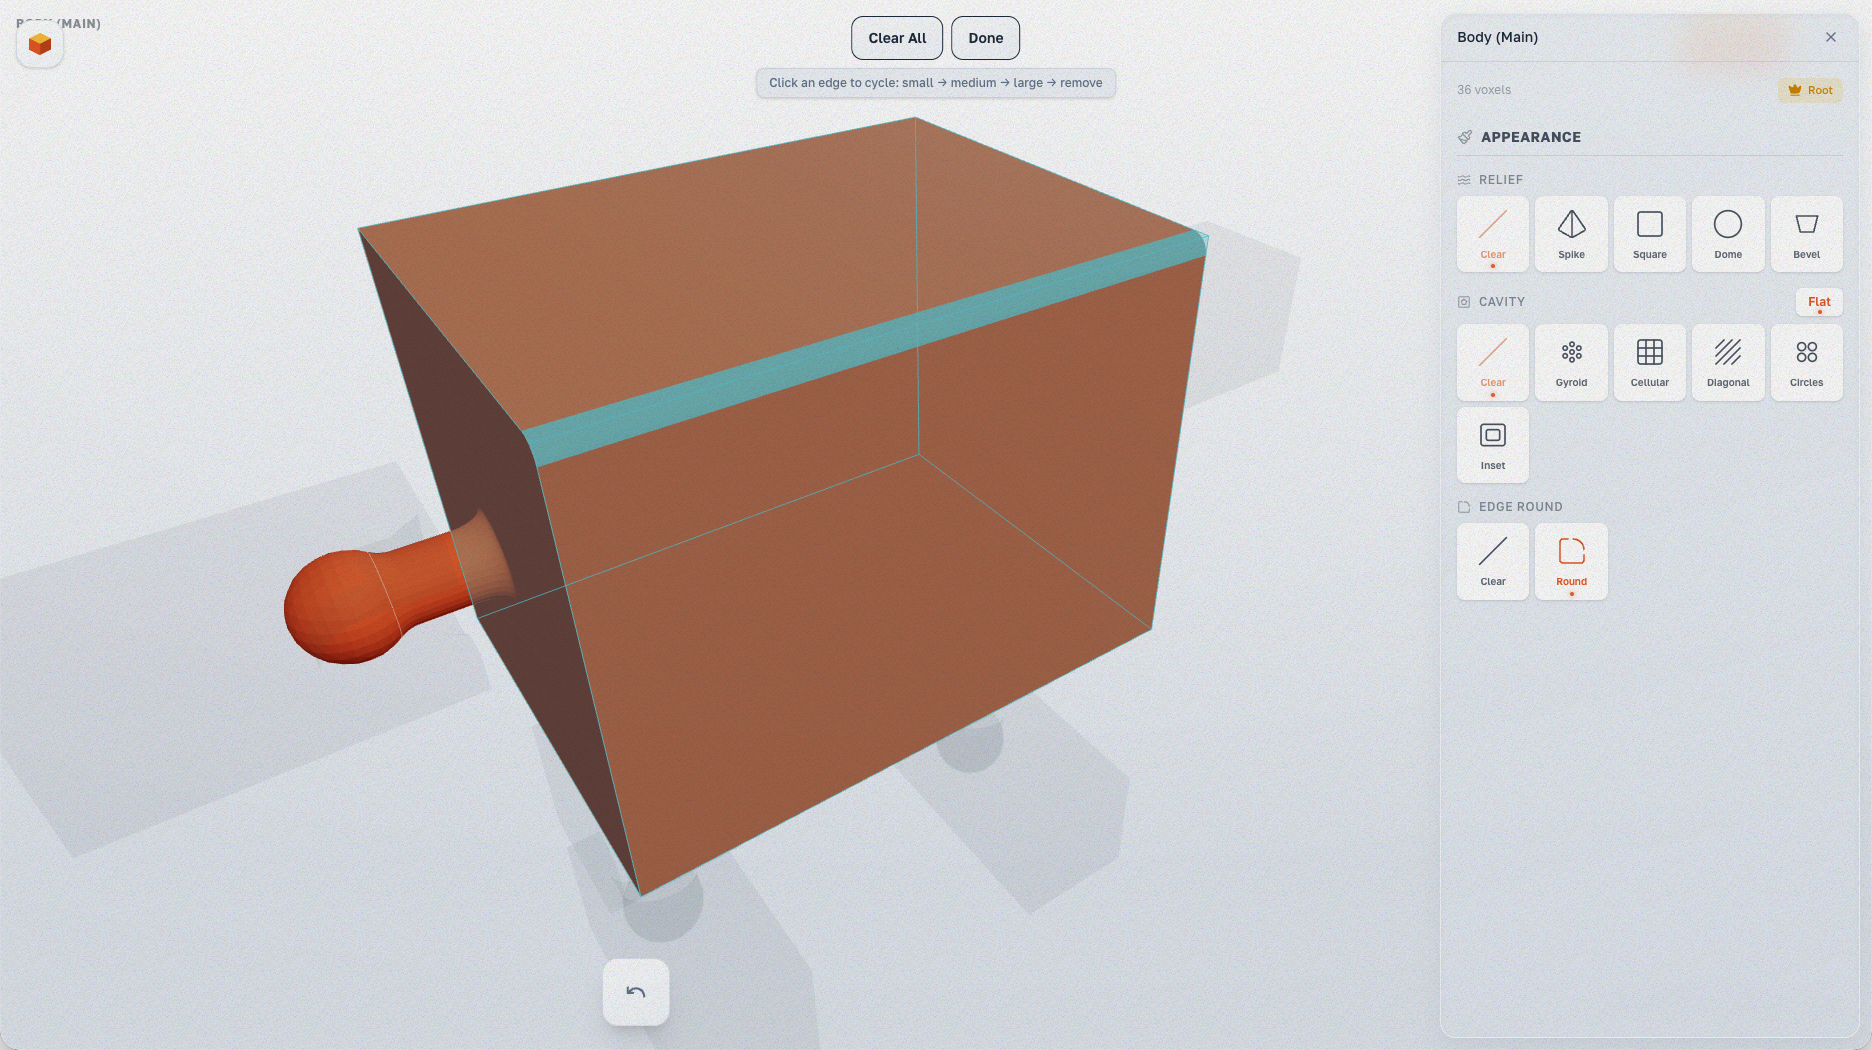
- Click faces or rows to select areas for rounding. Selected areas are highlighted.
- Press Done to apply.
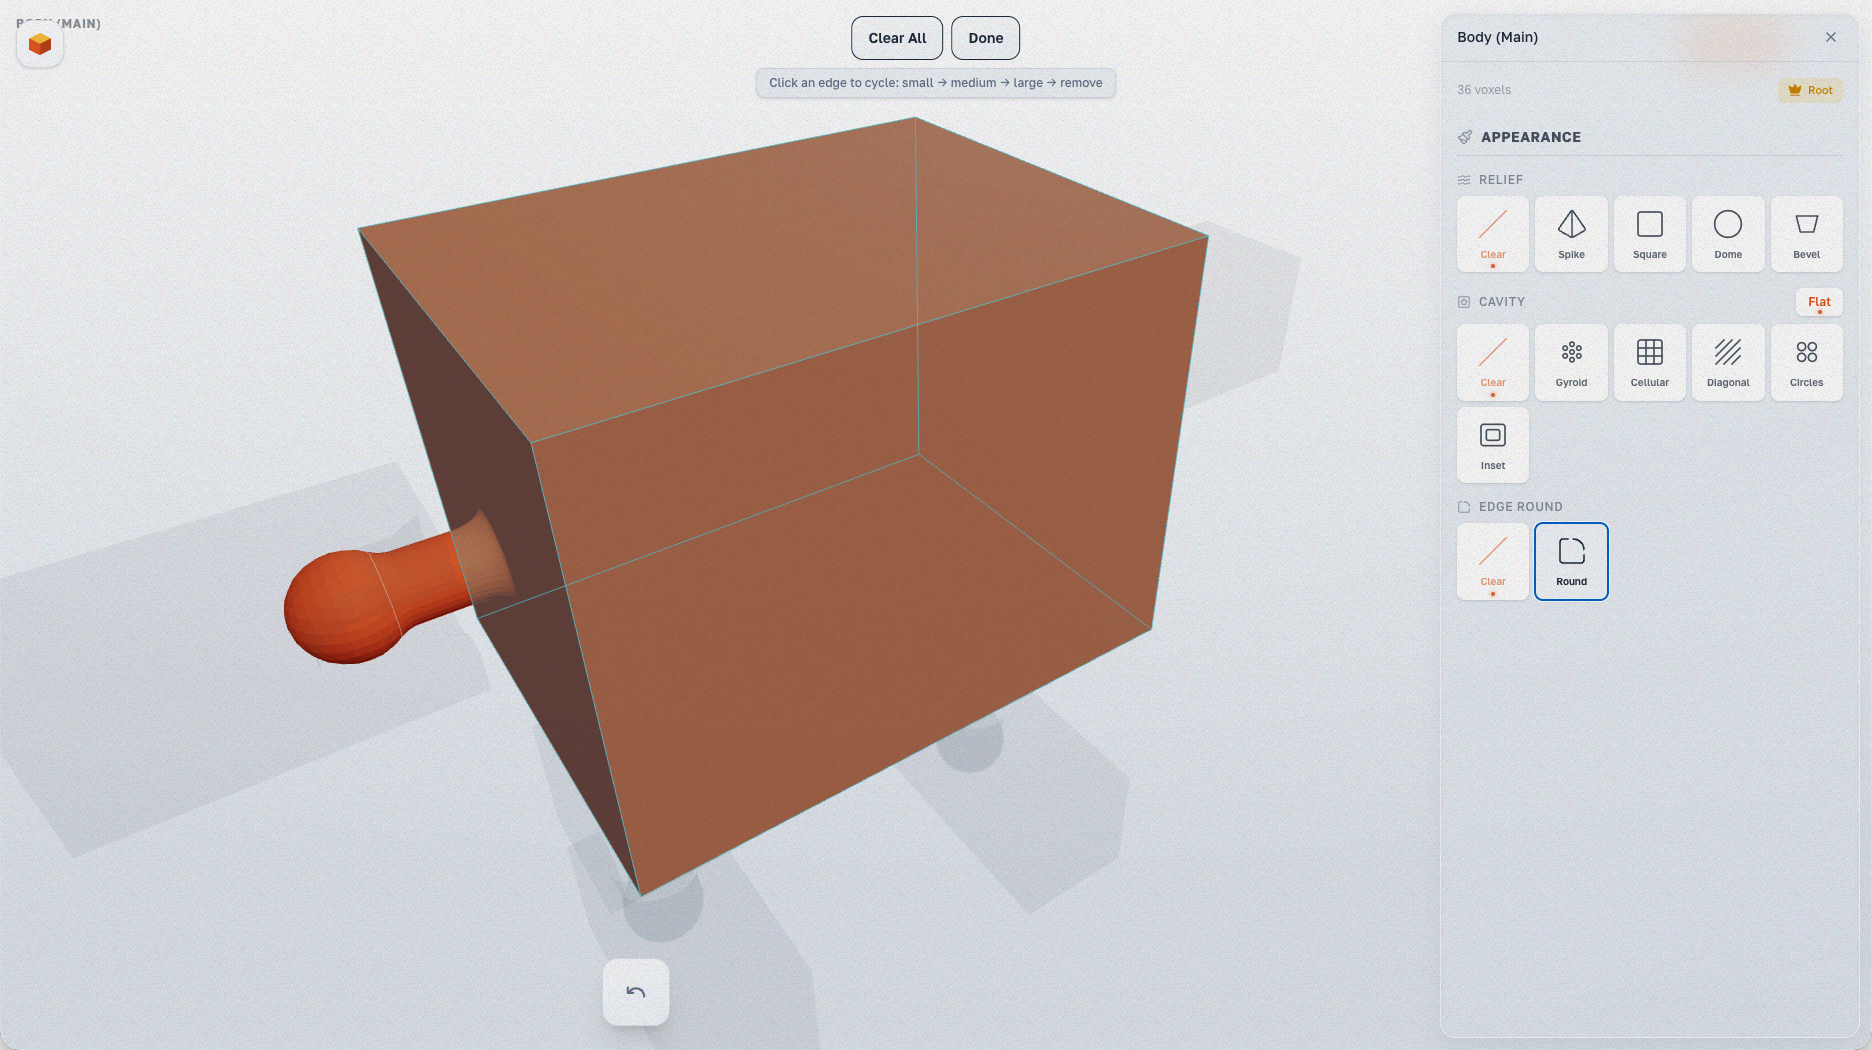
In Round mode, the part becomes semi-transparent showing the voxel grid. Click faces to select them for rounding.
A full row of faces selected (highlighted in cyan). You can select individual faces or entire rows.
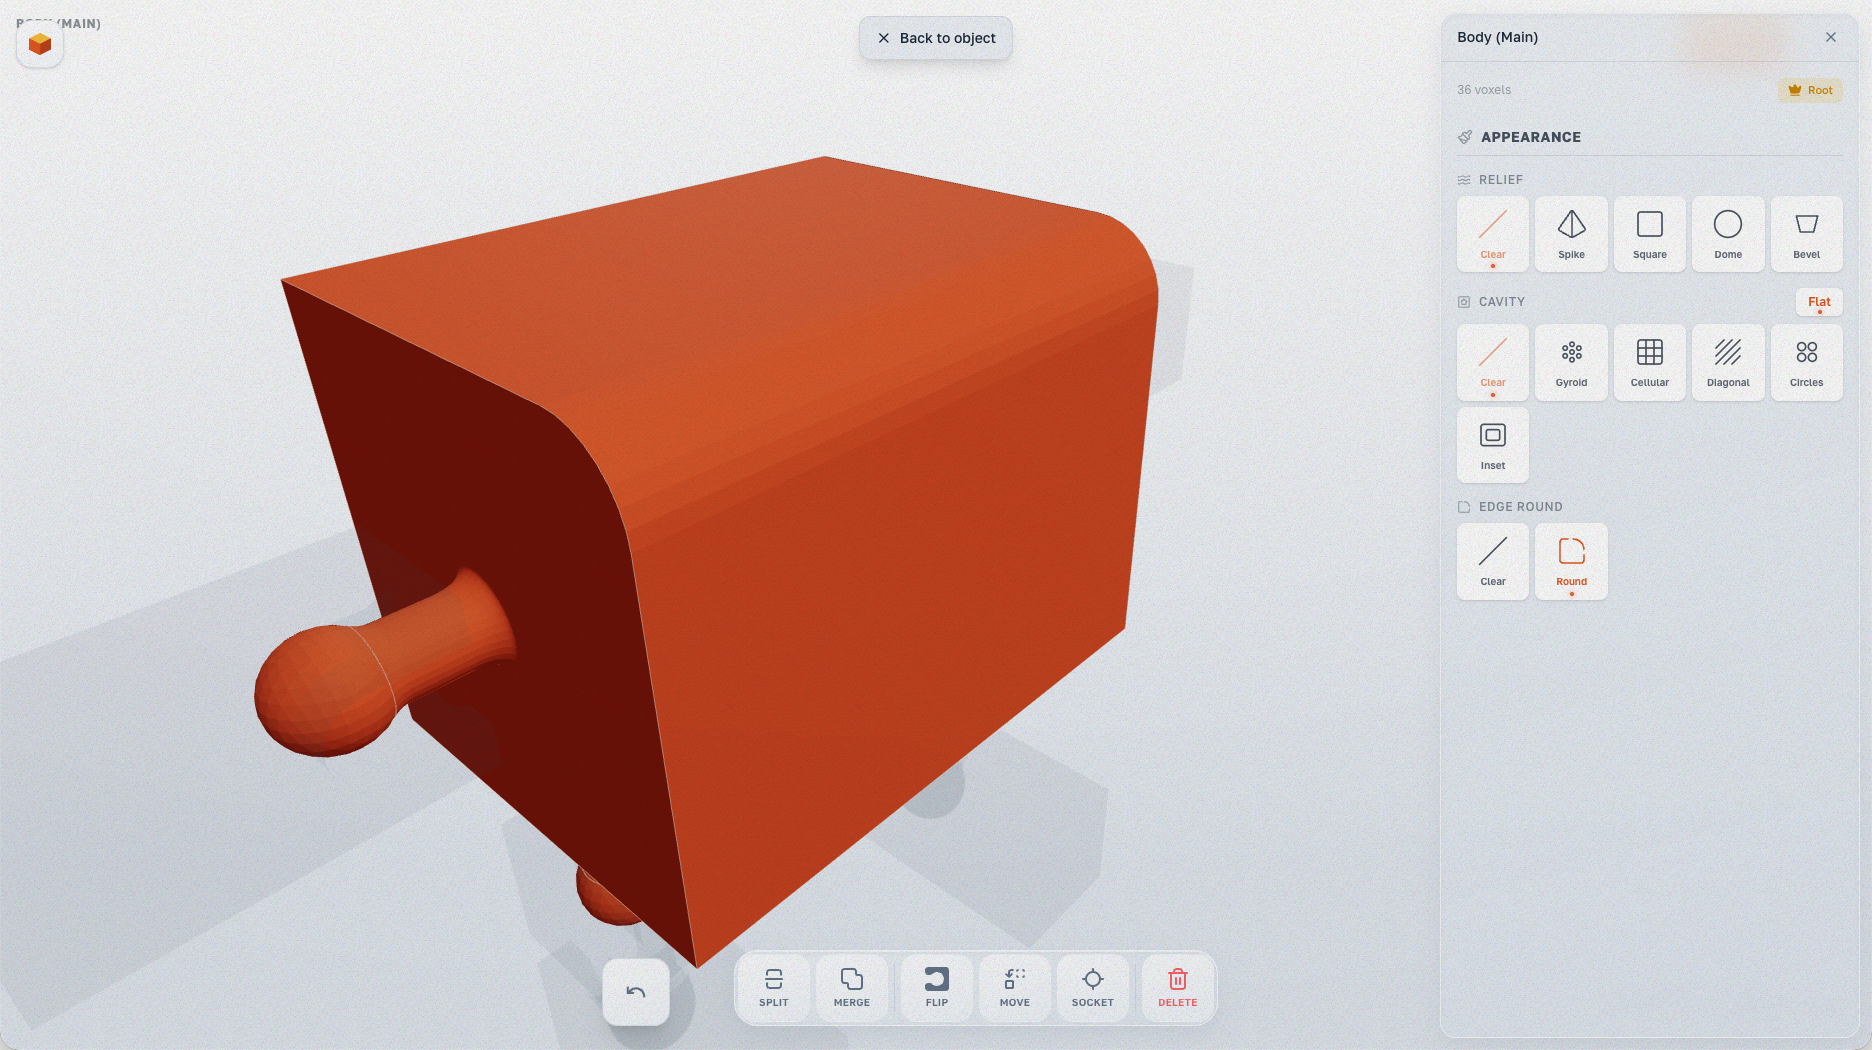
After applying heavy rounding: sharp voxel edges become smooth curves.
Combining Effects
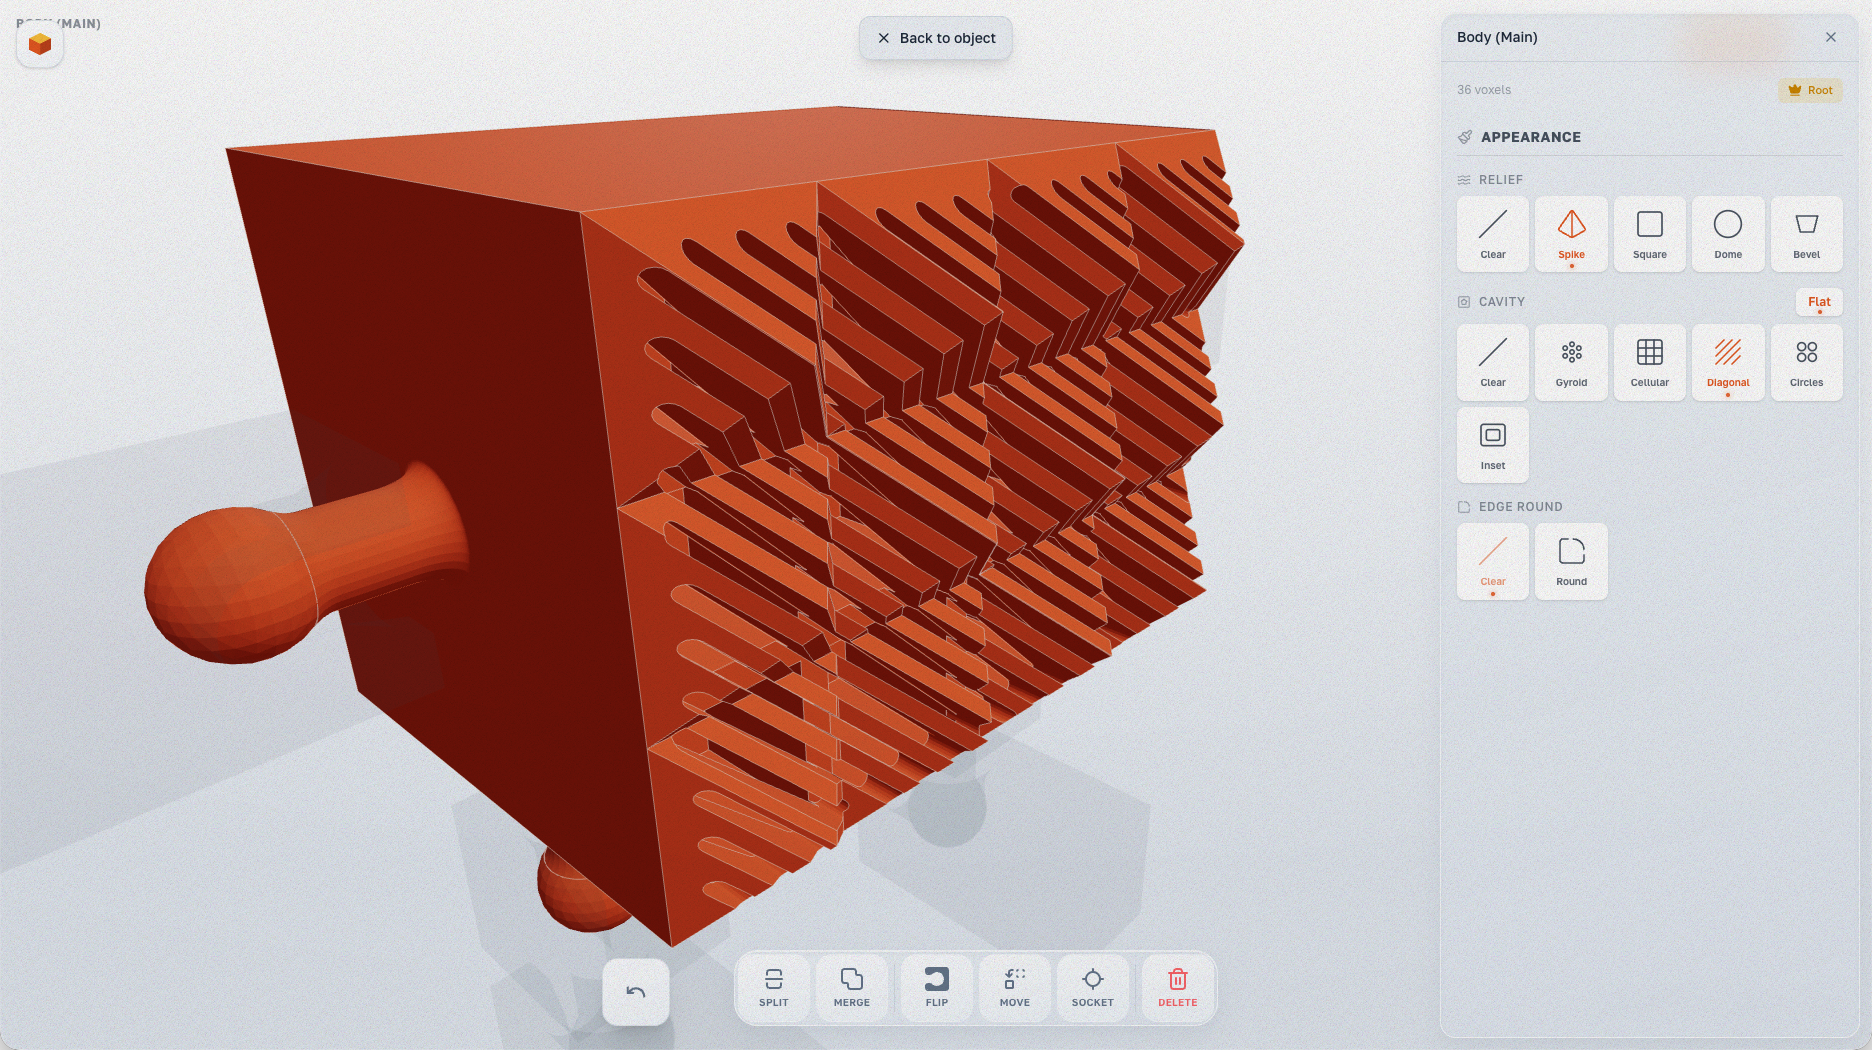
You can mix and match reliefs, cavities and rounding to create unique surface styles. Experiment with different combinations for your designs!