The Workspace
Cubie's interface is designed to be minimal and context-sensitive. Tools appear only when relevant to the current mode.
Main Areas
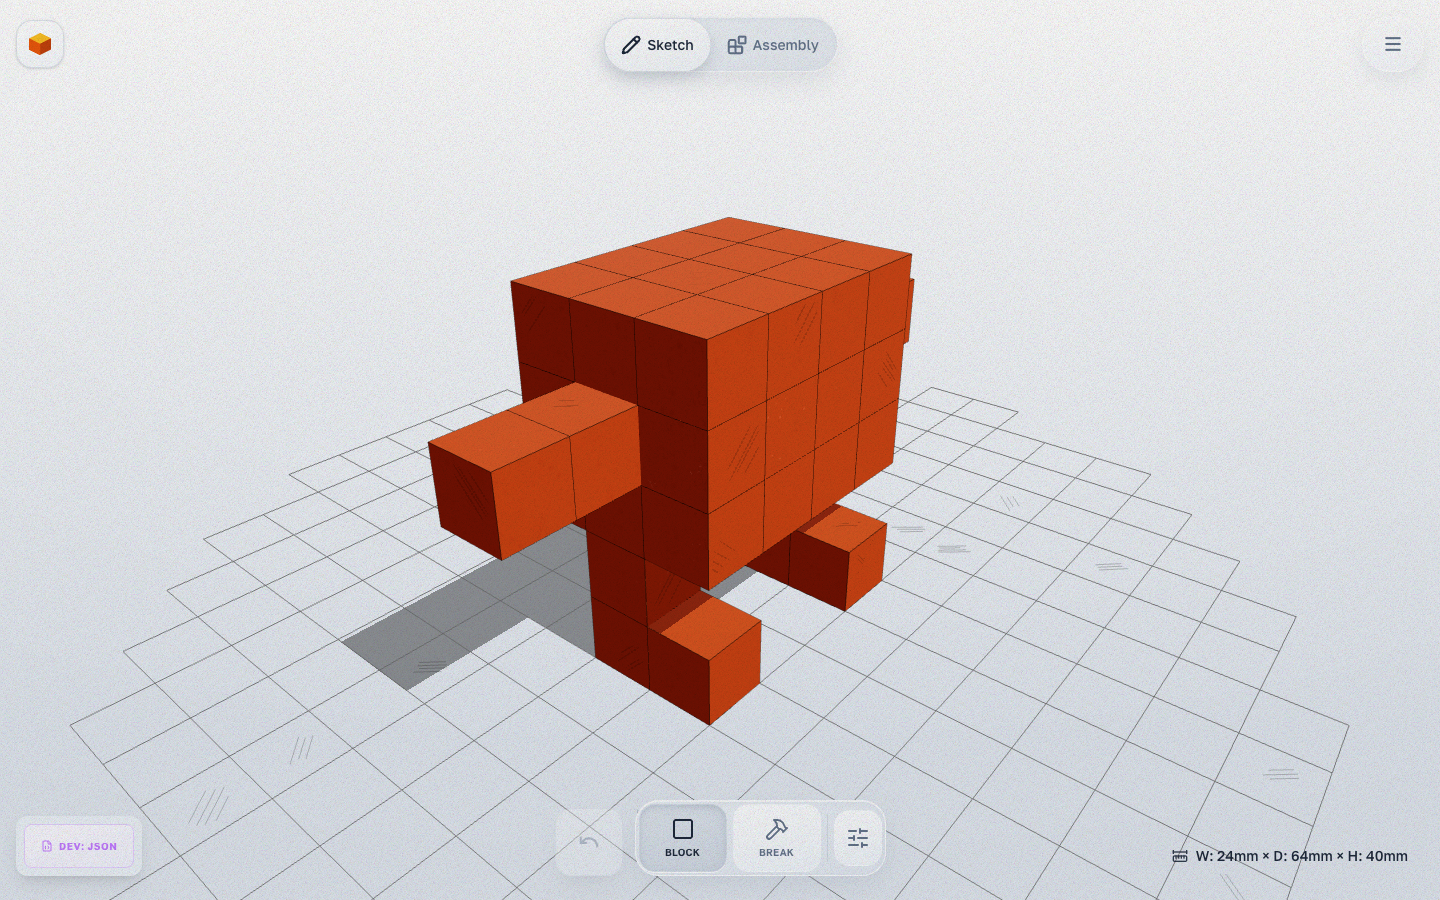
1. Viewport (Center)
The 3D space where you build your model. The grid represents the print bed.
- Rotate: Left Click + Drag
- Pan: Right Click + Drag
- Zoom: Scroll Wheel
2. Header (Top)
Navigation between two creation stages:
- Sketch: Build the rough shape with voxels.
- Assembly: The model automatically splits into parts and joints are generated. Refine and configure your model here.
3. Toolbar (Bottom Center)
Contains tools specific to the current mode.
- Sketch Mode: Block (add voxel, hotkey
1), Break (remove voxel, hotkey2), Settings. - Assembly Mode: The bottom panel contains the QuickPanel with quick settings (Motion, Block, Joint, Flip, Smooth, Pencil, Regen). Part-specific tools (Split, Merge, Link, Flip, Move, Socket, Reset, Delete) appear when a part is selected.
4. ActionBar (Assembly)
When you click on a part in Assembly mode, an action bar appears:
- Split — split the part (select voxels → Detach)
- Merge — merge with another part
- Link — connect one part to another (Connect To)
- Flip — flip joint direction
- Tight/Relax — toggle joint tightness
- Move — reposition the joint along the contact plane
- Socket — reposition socket
- Reset — reset pose
- Delete — delete part
5. QuickPanel (Assembly Bottom Panel)
Quick settings panel available in Assembly mode:
- Motion — interaction mode (posing)
- Block — cube size setting
- Joint — joint settings (bearing diameter)
- Flip — toggle attachment direction
- Smooth — organic smoothing
- Pencil — show/hide drawing in Assembly
- Regen — regenerate parts and joints
6. Export
The Export button in the header opens an export preview with orientation and rotation mode selection.