From Screen to Reality
1. Export
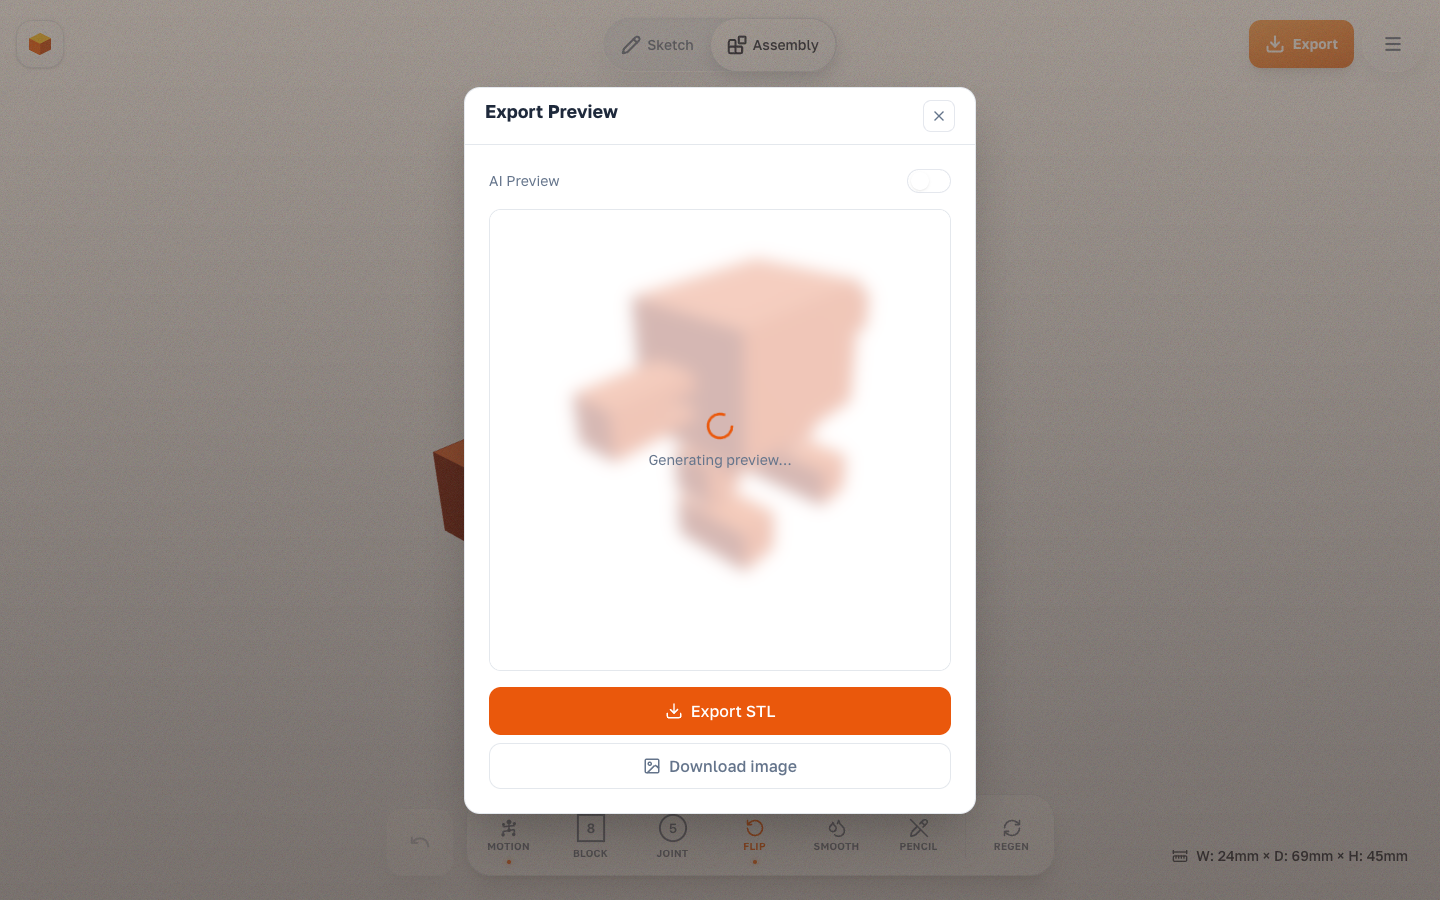
Click the Export button in the header. An export preview opens where you can set orientation and choose what to export.
Format:
- STL — a single file, or a
.zipwith one file per color for multi-color printing. Each part is a named solid (Bambu Studio, PrusaSlicer). - 3MF — native multi-part format with color baked in, ideal for Bambu Studio / Orca.
Options:
- Joint fit: Firm (holds a pose) or Flexible (free rotation).
- Part selection: for multi-part models, pick which parts and add-ons to include.
- Kit frame (3MF): connect all parts into one liftable plate, then snap them off by hand after printing.
- Instructions (PDF): generate a step-by-step assembly guide for your model.
- Orientation preview: rotate the model in the preview for optimal printing.
2. Slicer Settings
Import the STL into your slicer (Cura, PrusaSlicer, Bambu Studio).
Recommended Settings:
- Layer Height: 0.16mm or 0.2mm (standard).
- Infill: 15–20% (Grid or Gyroid).
- Supports: Depends on model and orientation.
- In many cases you can print support-free.
- If your slicer shows risky overhangs, add minimal supports.
- Do not fill joint gaps with support material.
- Brim: Optional. Use a brim if you have bed adhesion issues.
3. Post-Print
- Remove from build plate.
- Snap the joints: Gently push the balls into the sockets — you'll hear a characteristic click. The ball passes through the slit via elastic deformation of the plastic.
- Your toy is now articulated!