Getting Started with Voxel Modeling for 3D Printing
Learn how to create your first printable 3D character using Cubie's voxel engine.
Introduction
Most 3D modeling software is intimidating. If you open Blender or Fusion 360 for the first time, you are greeted with complex menus and empty viewports. Voxel modeling is different. It works like building blocks—if you have played Minecraft, you already know how to model in Cubie.
This guide explains how to create your first printable 3D character using Cubie's voxel engine.
Step 1: The Workspace
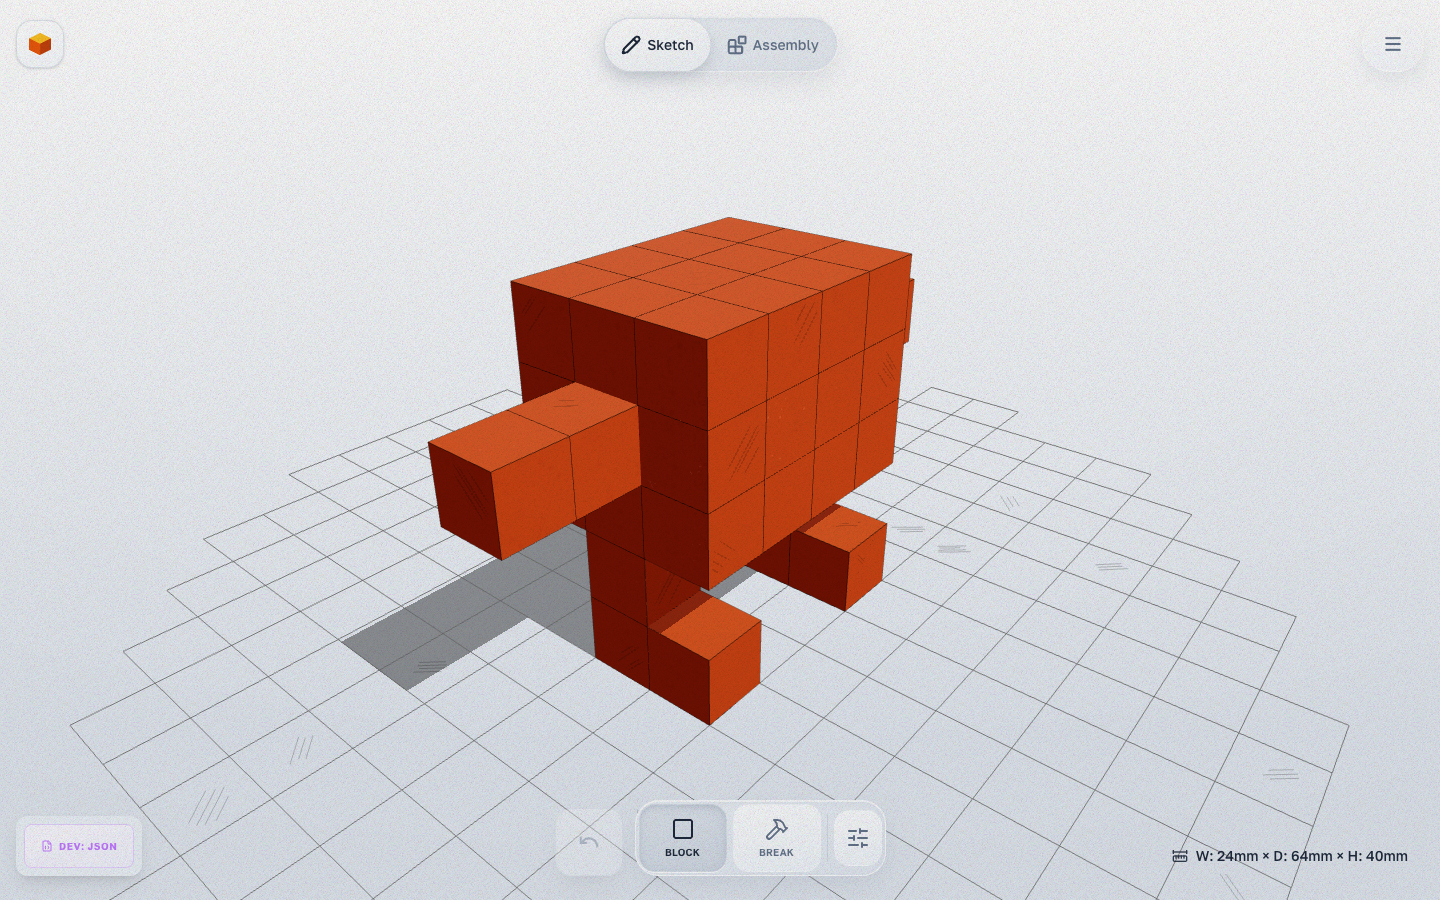
 When you open Cubie, you are in Sketch mode. You see a grid—this is your build plate.
- Rotate View: Click and drag the background.
- Zoom: Use the scroll wheel or pinch.
- Pan: Right-click and drag (or two-finger drag).
Step 2: Placing Blocks
 Select a color from the palette.
- Block: Click anywhere on the grid or on an existing voxel face. Key:
1 - Break: Click on a voxel to remove it. Key:
2(or holdAlt).
Tip: Enable the Mirror Tool in the toolbar. This cuts your work in half—whatever you draw on the left side automatically appears on the right. Perfect for characters and animals.
Step 3: Exporting for Print
Voxel models are watertight by definition, making them perfect for 3D printing.
- Click the Export button in the header.
- An export preview opens with orientation selection. The file downloads as a print-ready
.STL. - Open the file in your slicer (Cura, PrusaSlicer, Bambu Studio).
- Print!
Read Next
What's New in Cubie 2.0: Add-ons, New Joints & Kit Frame
A tour of the biggest Cubie update yet — wheels and a pull-back motor, robot arms and legs, new ways to connect parts, the Kit Frame, and 3MF export.
introWelcome to Cubie: The 3D Printer's Voxel Editor
Discover Cubie, the browser-based voxel editor designed for 3D printing. No CAD skills required—just build, assemble, and print.